
the psycho cat on an HP Mini with Ubuntu
Just Beginning
Introduction
Read this first before you try Ubuntu*
Which Ubuntu to pick?
Getting Ubuntu
Making a bootable USB of Ubuntu
Ubuntu inside Windows
Dual-boot with Windows
Install Desktop CD Ubuntu
Modest Specs
Install Software
Security in Ubuntu
Where's the Terminal?
Password in Terminal
Next Steps
Install Proprietary Drivers
Mount Windows
Install Proprietary Plugins
Finding iTunes Alternatives
Use Wine
Beyond the Basics
Backing up Ubuntu
Upgrade Ubuntu*
Change boot menu
Playing Around
Unity to classic Gnome
Unity Gnome/KDE Plasma Comparison
Install KDE
Install XFCE
Pure Ubuntu
Pure Kubuntu
Pure Xubuntu
Pure Lubuntu
Troubleshooting
Can't sudo
Graphical sudo
Forgot password
* Off-site link
Cheap Plugs
If you've found these tutorials useful, please consider donating a small amount to one of my favorite non-profits/charities. Every little bit helps.
You may also want to consider donating directly to the Ubuntu project.
Make your own Ubuntu remix with Remastersys

This work is licensed under a Creative Commons Attribution-ShareAlike 3.0 Unported License.
Note: This tutorial is extremely out of date. Not only are the screenshots from two years ago, but Remastersys itself has been discontinued. Apparently, there's a new project called relinux you may want to check out. I haven't tried it myself yet, though.
Introduction
Whether you are trying to customize Ubuntu to demonstrate to a particular niche market, deploying a specialized installation on multiple machines (you can multicast with CloneZilla, but Remastersys may be a bit friendlier of an approach), or just creating your own live/installer CD for personal use; Remastersys makes it really easy to remaster Ubuntu so you can make your own remix.
First thing you have to do is install Ubuntu and customize it to exactly how you want it. That means installing and removing programs, tweaking user settings, etc. The only part that's a bit difficult is changing the GDM (login screen) settings. For some reason, Remastersys can't do this right now.
You could use it to create a special slimmed-down version of Ubuntu or some "ultimate" kind of Ubuntu that included everything but the kitchen sink!
Copy user settings

Press Alt-F2 to get a run dialogue and then paste in the command

Enter your password to authenticate the session.
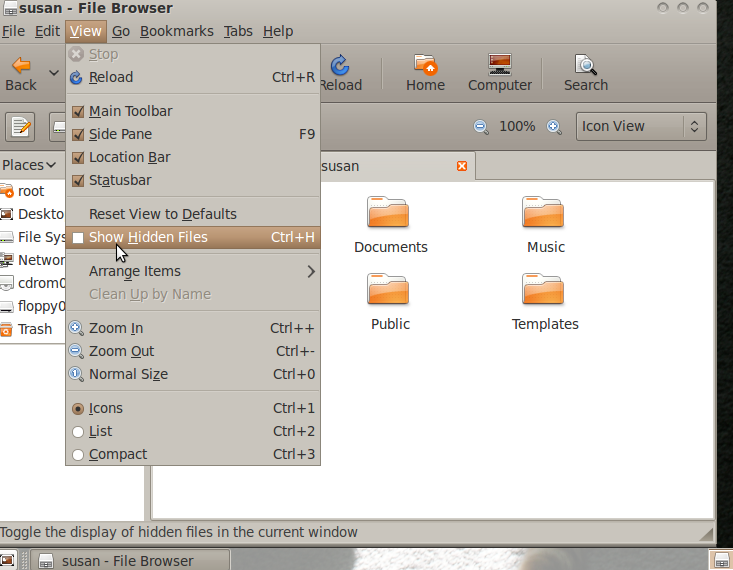
In your /home/username directory, make sure hidden files are showing (Control-H is the shortcut)


Then copy the appropriate settings directories to the /etc/skel directory.
Install Remastersys
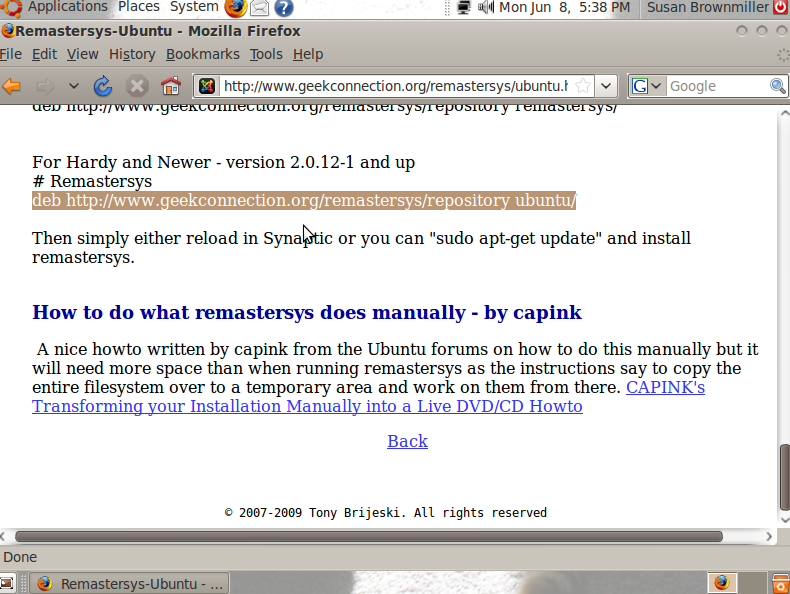
Go to the Remastersys Ubuntu homepage and scroll to the bottom. You'll see a line for the Ubuntu repository. Highlight and copy that line.


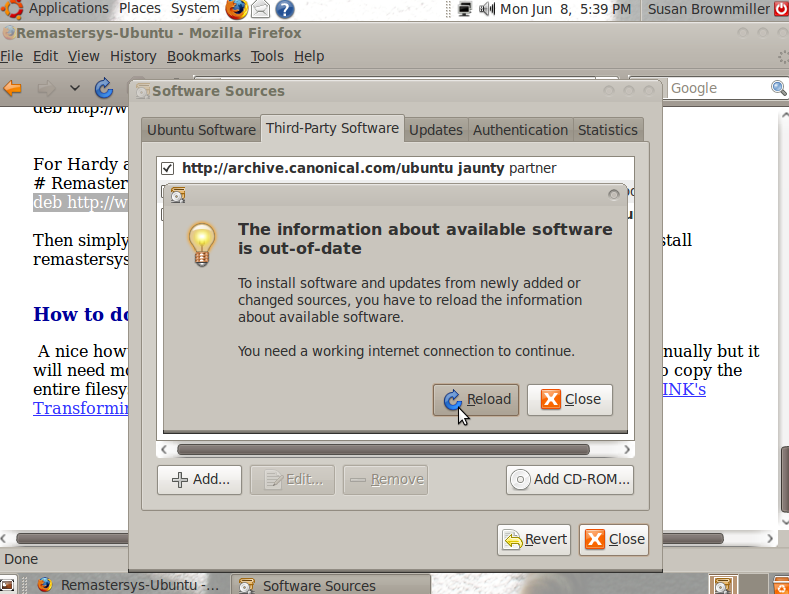

Then go to System > Administration > Software Sources, add in a new source and paste the repository line in. Reload when prompted.

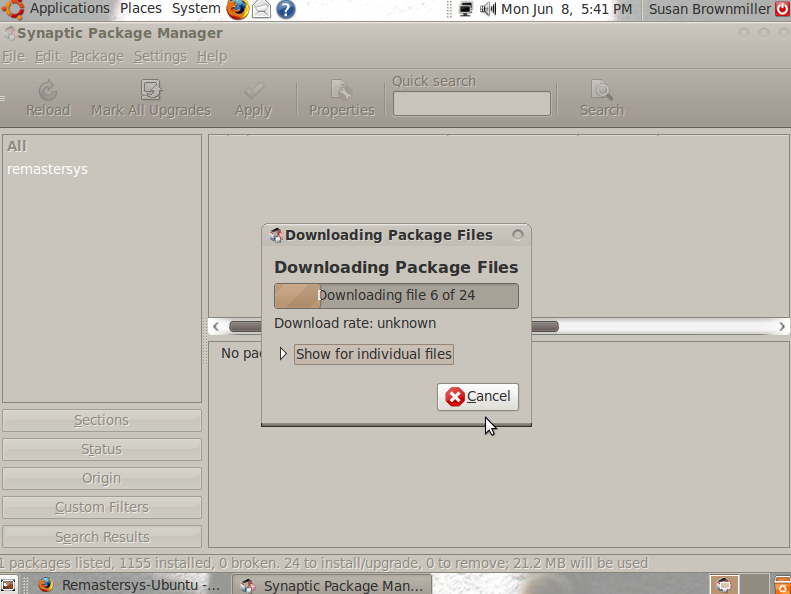
Now that the Remastersys repository has been added, go to Synaptic Package Manager and install Remastersys. I've included screenshots of the steps, but if you don't know how to install software in Ubuntu, you really should read this guide before continuing with the rest of this tutorial.


Using Remastersys

Go to System > Administration > Remastersys Backup to launch Remastersys.

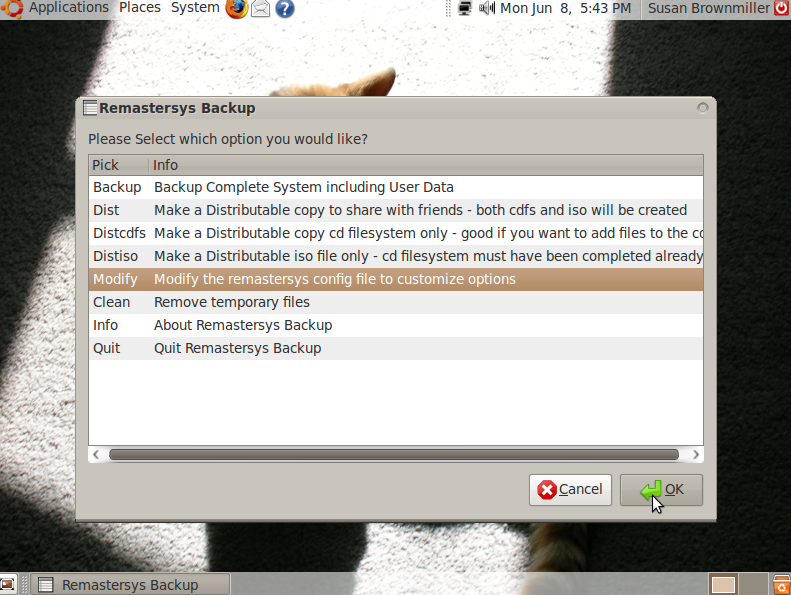
After you get the little intro window, go to the Modify portion of the menu.
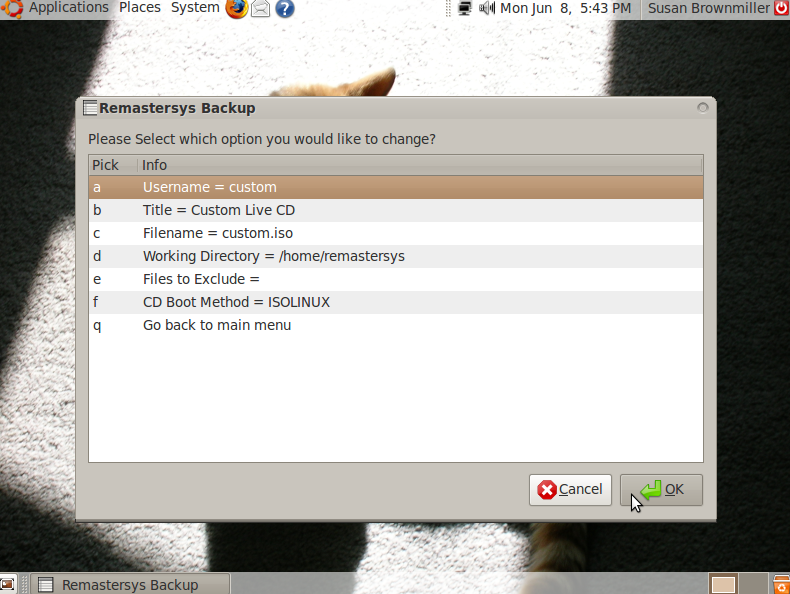
You'll be presented with a few things you can modify about you remastered Ubuntu .iso before actually creating it. Double-click on each item to change it.

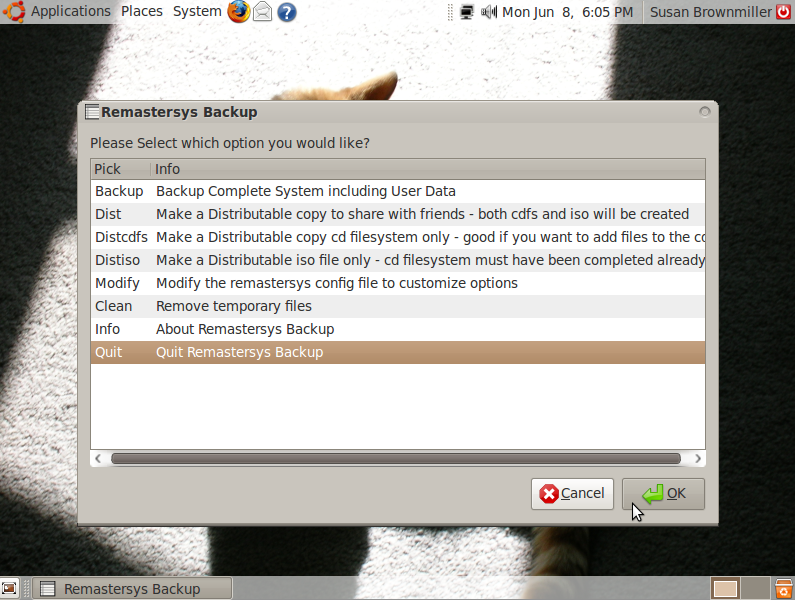
When you're done, go back to the main menu.


Click on the Dist option to make the actual .iso and then click OK to start the process.
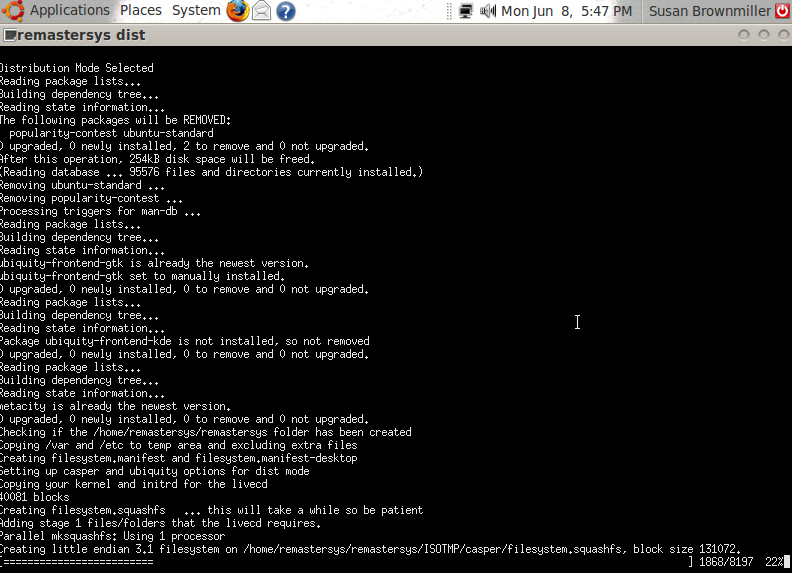


The entire build process should take 15 to 20 minutes, possibly a little longer, depending on your computer's specifications.

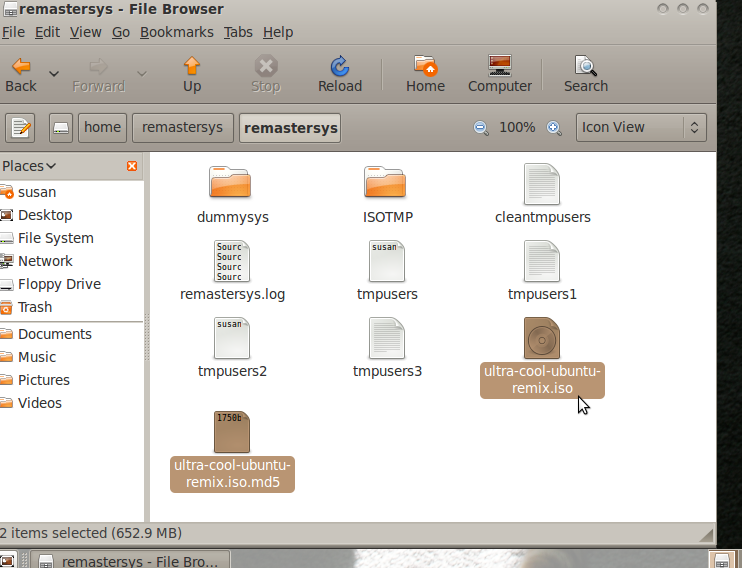
You can then find the remastered .iso and its md5 in the /home/remastersys/remastersys folder.
Last updated 10/13/11 07:51
If you have suggestions or corrections for these tutorials, please post in this Ubuntu Forums thread or leave a comment on my blog.
I will not give help to people posting in the above places. If you require technical support, start a support thread on the Ubuntu Forums. That is the appropriate place to ask for help.